
I want to wish everyone a Happy New Year! I had a wonderful 2016, and I’ve loved sharing the exciting things that my students did with technology last year. However, I’m ready for a fresh start, and I’m so excited for 2017 and all of the amazing things my students will accomplish. I’ve used some of my winter break to plan some great activities! And I will be documenting many of them on Seesaw!
In the spirit of the new year, I’m interrupting my Reflections on Seesaw series because I couldn’t help but share my school’s first Tech Tip for 2017 about ringing in the new year with Seesaw.

With the New Year comes new opportunities for sharing new things with our students. But it is also a time to review with students the rules and procedures that we’ve been doing since August. Whether you’ve been wanting to introduce Seesaw to your students but just didn’t know how or you need to review with students the procedures for using Seesaw in your classroom, here are a few tips for you can try:
-
Start small: Share the Seesaw Introduction for Students presentation with your students to set a purpose for using Seesaw and show them how to sign in. Also take this opportunity to allow students to add something to their journals.
-
Create a Routine: Use the Seesaw 4 Week Lesson Guide for K-2 and 3-8 to get into a groove with Seesaw. There are four weeks worth of activities to help you launch Seesaw: one Math activity and one ELA activity per week (get even more activity ideas at the Seesaw Help Center). At the end of the 4 weeks, you and your students will have a natural routine with Seesaw and a nice collection of posts, too!
-
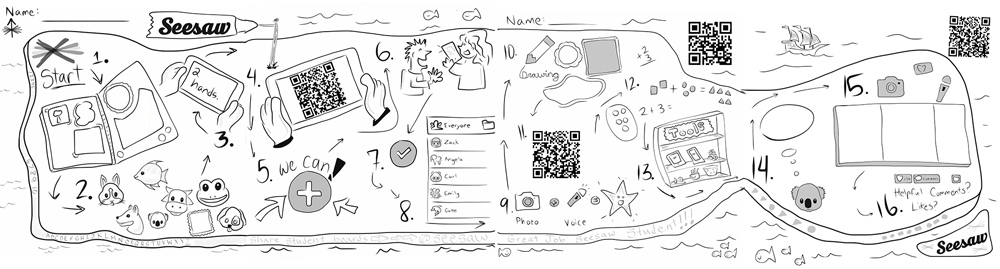
Try an Interactive Approach: Have students take the Seesaw Student Challenge! The Student Challenge is an interactive activity to get your students going with Seesaw or brush up on its many amazing features. The series of tasks that make up this challenge are for students who are just beginning to use Seesaw, but could also be useful for reteaching Seesaw procedures that your students seemed to have forgotten over winter break. At the end of the challenge you can be sure that they know the basics needed to independently document their learning in Seesaw.
And if you are interested in doing all three, all of these activities can be integrated for a complete Seesaw launch in your classroom. Just check out the Seesaw Roll Out Calendar for an all-inclusive calendar with 8 weeks worth of ideas and activities to get Seesaw running smoothly in your classroom. Here’s to your successful Seesaw class in 2017!
All resources shared were created by Seesaw and can be found on their website at the Seesaw Help Center.